Microsoft Dynamics 365 Business Central strives to make accessing information as simple as possible. Business Central offers several different methods for viewing financial data within your system. This includes super-powered intuitive reporting, but also just setting up your day-to-day views to maximize efficiency.
This is the first in a series of three blogs designed to help you access and filter your data just how you need it in Business Central.
So first we’ll look at an example of some General Journal transactions. We will look at how to view those transactions, and also how to see them based on their dimensions. Then next week, we’ll look at some Trial Balance Reports, and then look at the process for generating account schedules the week after that.
General Journal Views
First we’ll look at how to see all the transactions that have posted to a certain GL account.
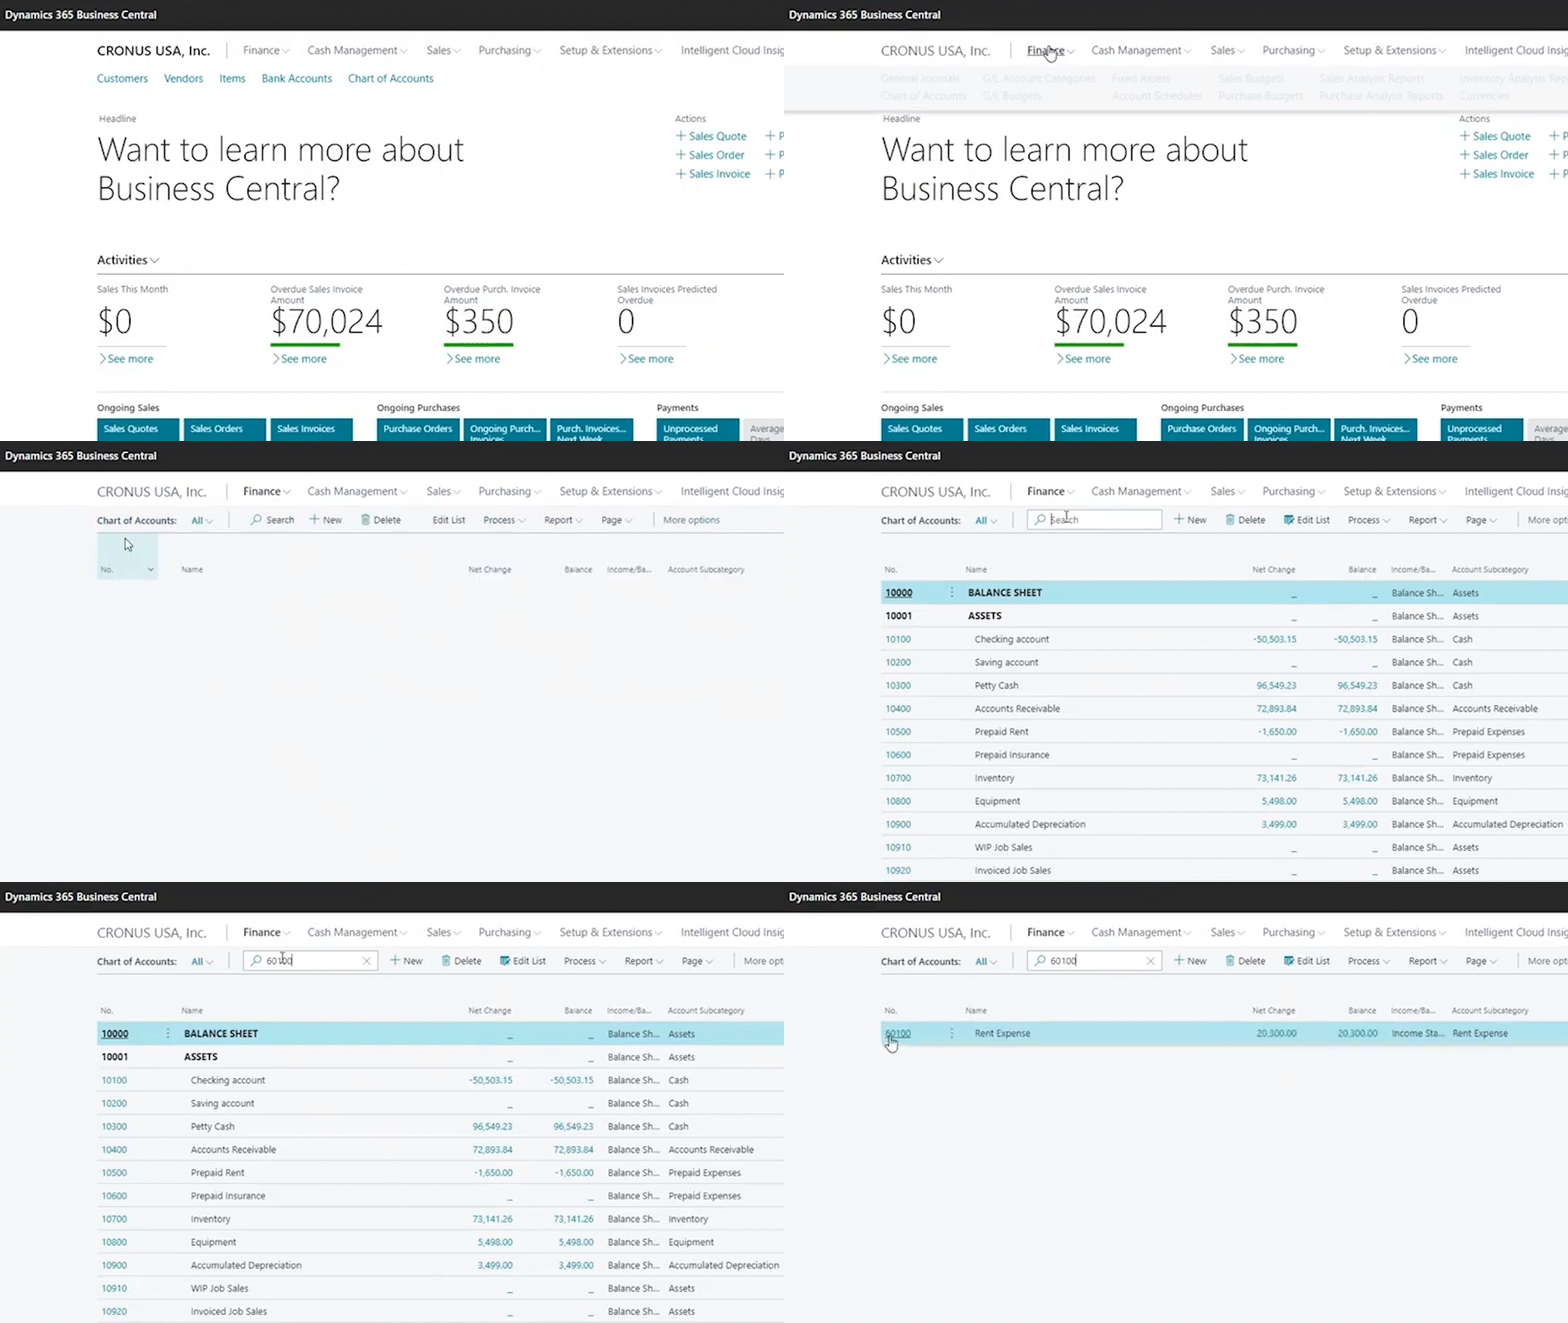
First, navigate to Finance > Chart of Accounts.

(I demonstrated how to enter these transactions in this video all about General Journals in BC. Watch that if you need a refresher.)
So we’ll look at rent expense. We can see rent expense as a link, that when clicked will show the balance. Once we open this up, we can see all the transactions that are making up that balance.
I use departments code as my dimension to filter on. I have it displayed in this window so we could see it quickly with this view.
Adding & Clearing Filters
Now, I can filter this by department just by clicking the filter icon.
And you’ll notice it’s already filtered to account 60100. I can now add an additional filter to my department code.
So if I wanted to only see the transactions that have affected the Sales department, I would type the department name in, and now it will only display the transactions that were posted to the Sales department code.

You can add any other filters based on all these different fields that we see available here.
Another method that you can use to filter and view data is by setting a dimension filter on the entry itself. I can tell Business Central that I want to filter by department, and then I can just select from my list. Again, if I want to filter to Sales I would just select that, and I’ll see the same list again of all the transactions that were posted to the Sales department.

Keep in mind: in any of these windows, you can always export to Excel.
There are two easy ways to see what you want to see, when you want to see it in Business Central. Be sure to subscribe to our blog for the next in the series: Trial Balance Reports in Business Central.
