Raise your hand if you ever had to transcribe an audio file and was frustrated by the number of times you had to hit the rewind button and listen to the same sentence repeatedly?
Well guess what, with Word’s Transcribe feature, you no longer need to click that rewind button on the recorder; Transcribe instantly does the work for you. All you need to do is upload your audio file (.wav, .mp4, .mp3) or even start recording a conversation and Transcribe will instantly generate a transcript for you. Here’s how:
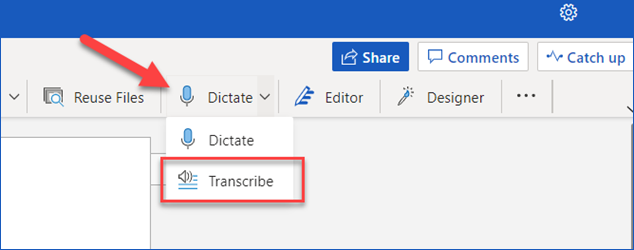
To begin, with your Microsoft Word Online document already open, select Dictate then Transcribe.
A dialog box will appear to the right of the screen with options to upload an audio file (.wav, .mp4, .mp3) or start recording conversation. You can also transcribe in any one of the other languages in the dropdown menu below.
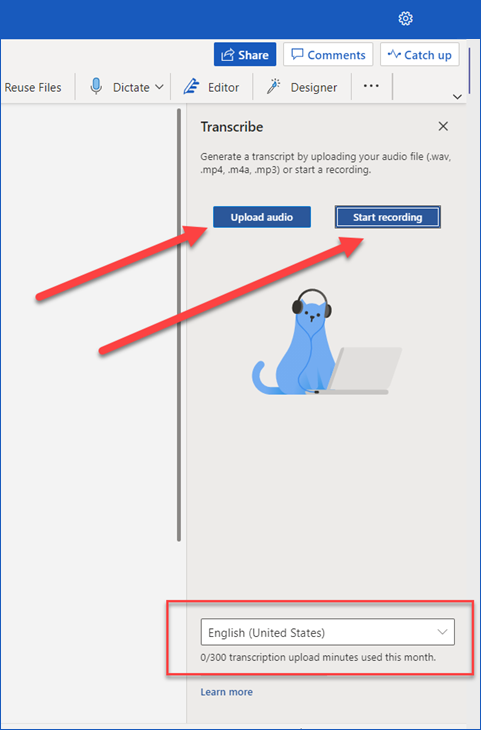
Let’s get started with uploading an audio file.
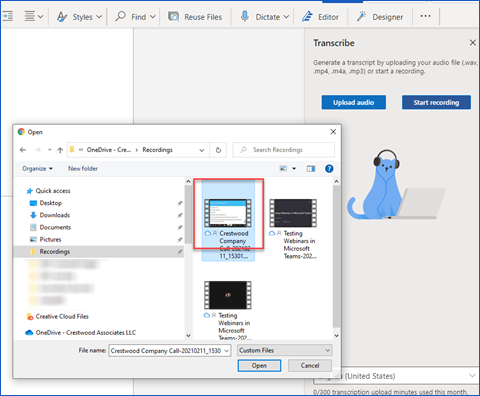
Upload a pre-recorded audio file and then transcribe the recording by simply clicking on Upload Audio and then selecting your file in the dialog box. Note, Microsoft limits each user to five hours of transcription time per month for uploaded recordings.
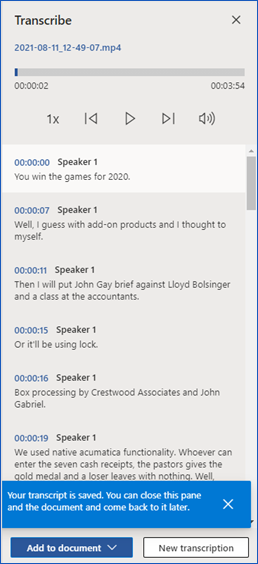
Once your file has been uploaded, the transcribe feature will work its magic in transposing audio into text. Depending on your internet speed and the length of the file will determine how long it will take. Be sure to keep the Transcribe pane open while the transcription is happening, but feel free to do other work or switch browser tabs or applications and come back later. When it is complete, it will look like this:
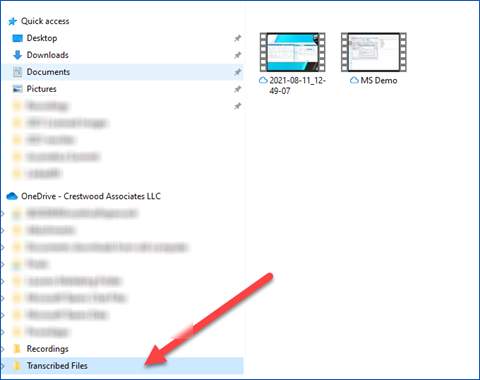
Note: Recordings are stored in the Transcribed Files folder on OneDrive. You can delete them there.
Transcript interaction
You are allowed one transcript per document, and it is attached to that document until you remove it. If you close and reopen the pane or close and reopen the document, the transcript remains saved with the document.
You can interact with the transcript in a few different ways.
Audio play back
You can use the controls at the top of the Transcribe pane to play back your audio. The relevant transcript time stamp highlights as it plays.
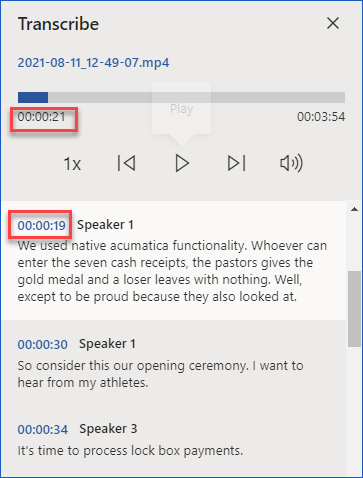
You can play any portion of the audio by selecting the timestamp of any transcript section.
You can also change the playback speed up to 2x.
Edit a section or relabel a speaker
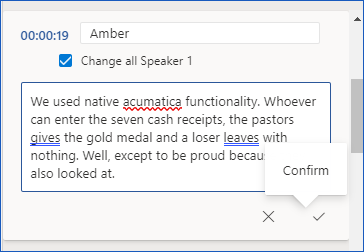
The transcription service identities and separates different speakers and labels them “Speaker 1,” “Speaker 2,” etc. You can then go in and edit the speaker label and change all occurrences of it to something you prefer. You can also edit the content of the section to correct any issues in the transcription. Here’s how:
- In the Transcribe pane, hover over a section you would like to edit.
- Then select Edit Transcription Section icon
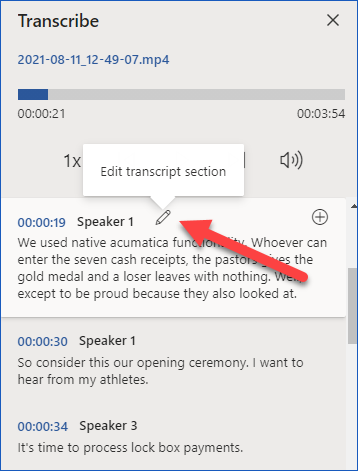
- Edit the content or change the label. To change all instances of a label, select Change All Speaker (X).
- To save your changes, select the Confirm icon.
Add a transcript to the document
Transcribe does not automatically add the audio to the document, unlike Dictate. Instead, from the Transcribe pane, you can add the entire transcript, or a specific section of it to the document.
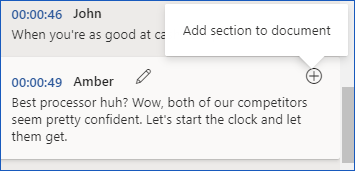
- To add to a specific section, hover over the section and select the Add section to document
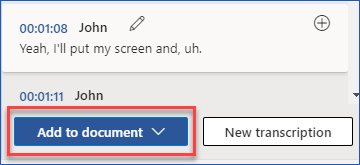
- To add the entire transcript to the document, select Add all to document at the bottom of the pane.
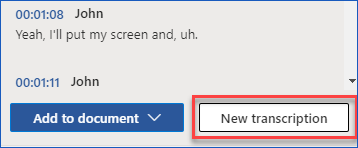
- To delete the transcript or create a new one, select New Transcription. Note, you can only store one transcript per document; if you create a new transcript for the documents, the current transcript will be deleted. However, any sections of the transcript that you have added to will remain in the document, but not in the Transcript pane.
Sharing the transcript and the recording
There are two ways in which you can share the transcript with someone:
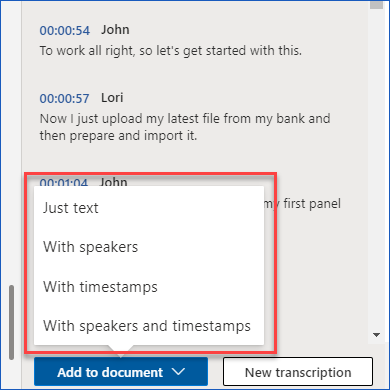
- Click the Add to document button in the Transcribe pane to add specific portions of the transcript or all of it. The transcript will appear as regular text with a hyperlink to the audio file in the document.
- You can share the original Word document as usual. The recipient can open the Transcribe pane to interact with the transcript. The playback of the audio file is by default and is not available in the Transcribe pane for anyone that you share the Word Document with, to protect your privacy.
Note, you can also share the transcript and enable audio playback in the Transcribe pane:
- While in your version of the Word document, click the filename at the top of the Transcribe pain to go to where the audio file is save in OneDrive. The transcribed files folder in OneDrive will open. Find the recording, then select Actions then Share and add the email address of the person you wish to share the recording with. The person you wish to share both the Word document and audio file will be able to open the document, open the Transcribe pane, and interact with both.
No more paying expensive transcription fees or wasting time rewinding audio recordings with this transcription tool, it’s fast, simple, easy and free. For more tips and tricks for Microsoft Office, visit and subscribe to our blog.
