Microsoft Dynamics 365 Business Central allows you to easily reconcile your bank accounts by importing transactions from your bank. In order to match the transactions, you need to have the proper format for Dynamics 365.
Here’s how:
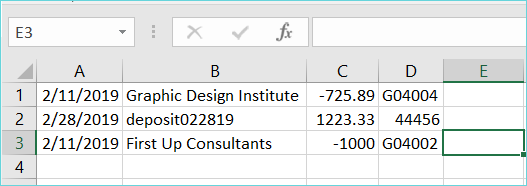
The file format just needs to be defined and assigned to the bank account. In this example, I will define a simple CSV file format with 4 fields:
Transaction Date, Description, Amount, Doc No
First, use the global search for ‘Data Exchange Definitions’
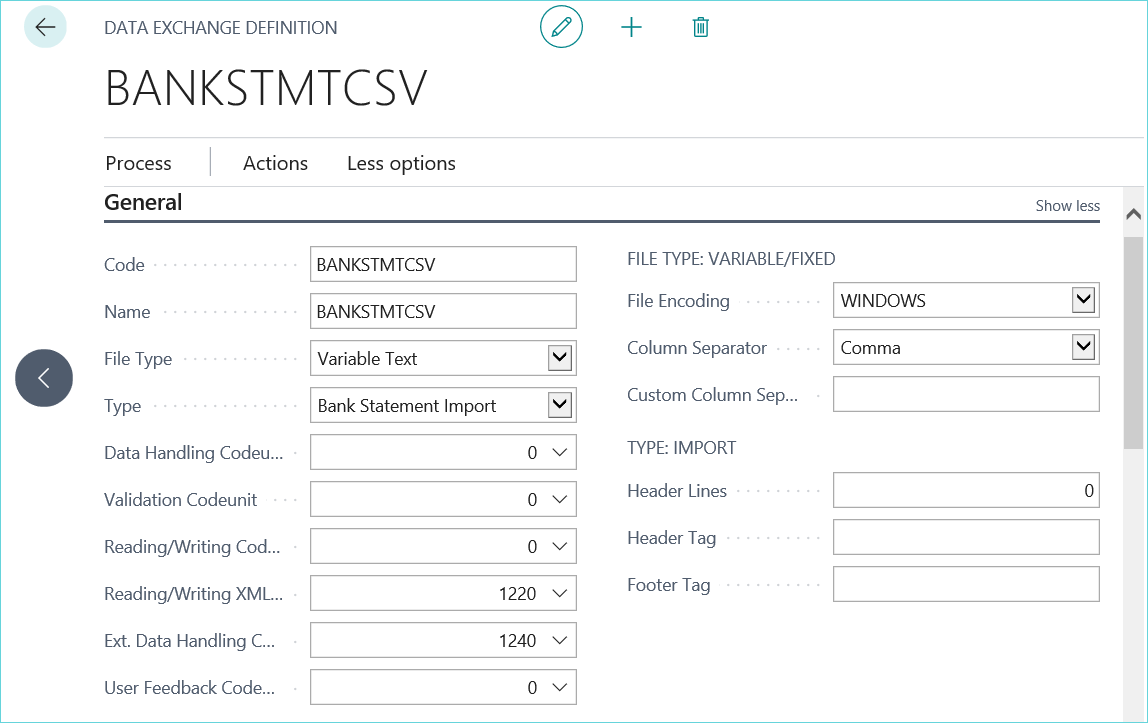
Click New and enter in a Code and name. Fill in the fields with the following information:
Then, scroll down to the Line Definitions section.
Provide the number of columns that will be in your CSV file (in this example, there are 4 fields).

Next, scroll down to the Column Definitions section and provide information about each field that will be in your CSV file:
The column ‘No’ will need to match the column number in your CSV.
Enter a name for each column. You will also need to select formatting information for Date or Decimal fields:

Scroll back up to the Line Definitions section and select Manage-Field Mapping.
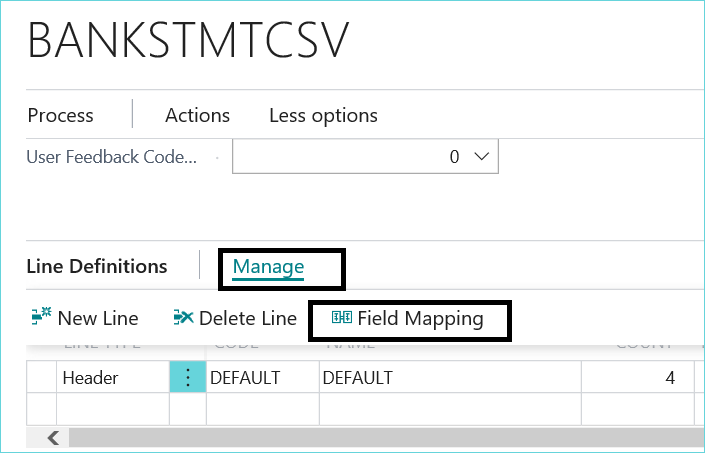
Click New so you can map the fields from the CSV file to the fields in D365.
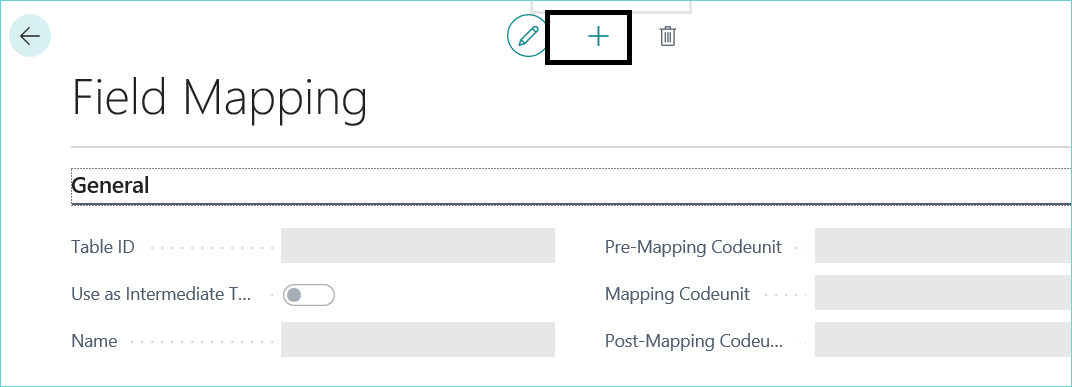
Fill in the following fields:
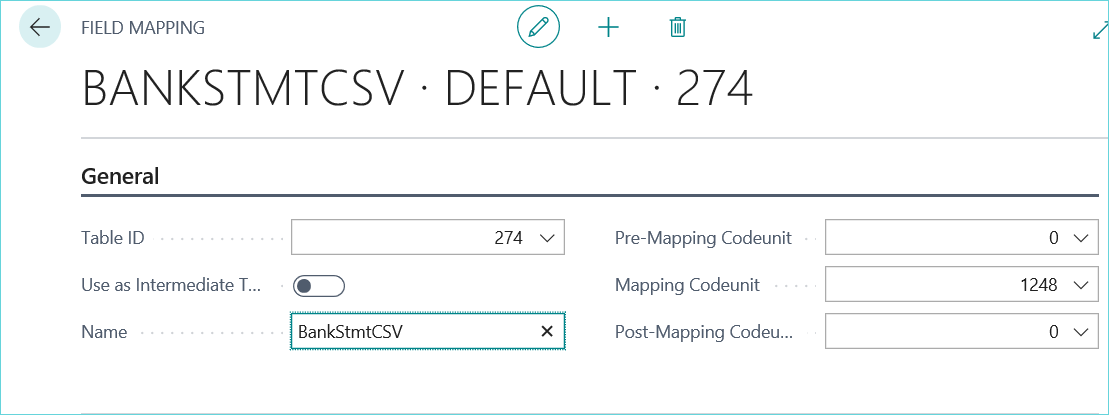
Mapping Fields
Continue down to the Field Mapping section and then select the first column on the first line.
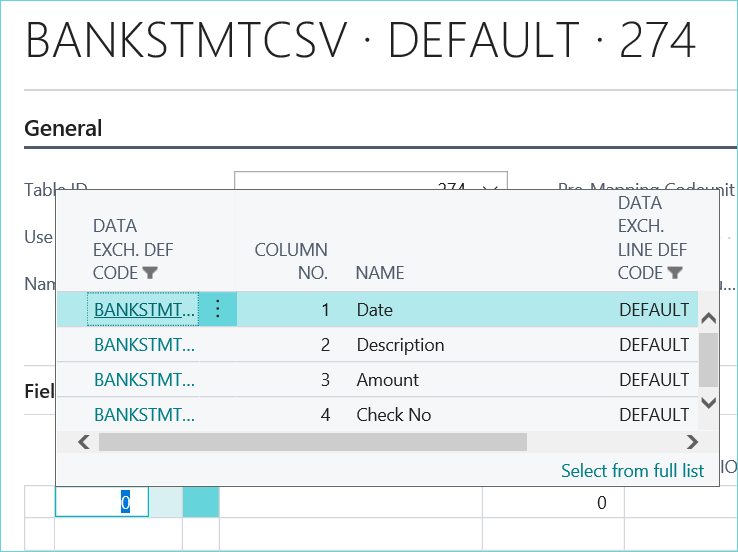
Now, select the corresponding column in the Field ID column.
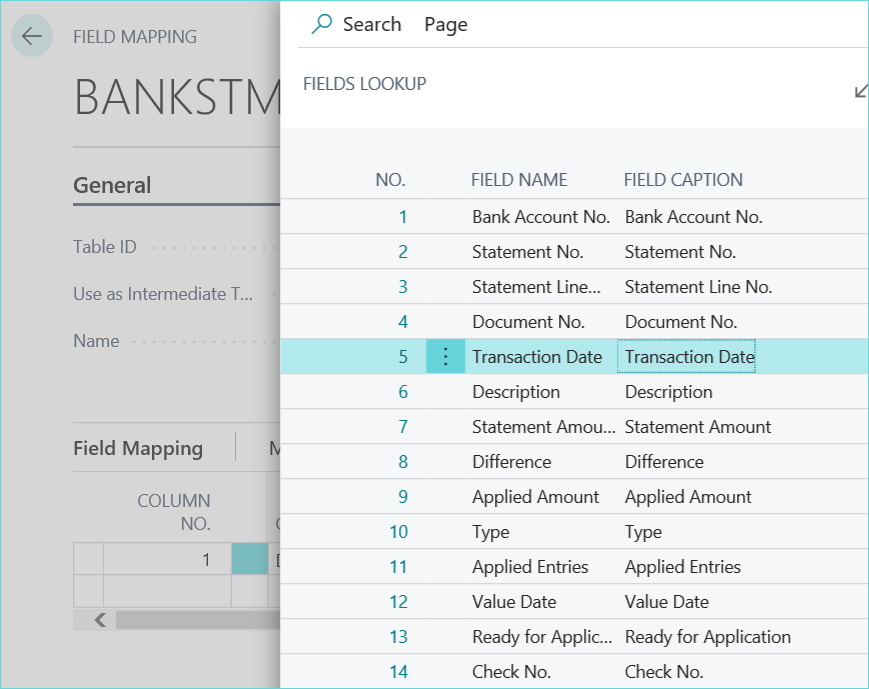
Complete this for all columns:

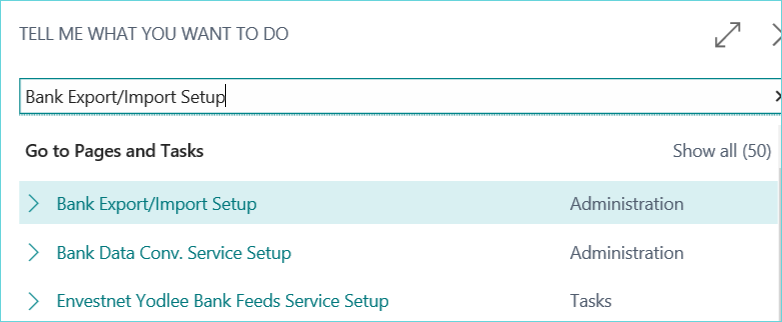
Now enter a global search for ‘Bank Export/Import Setup’.
Click New and enter a code/name. Fill in the following fields for the new line:

Scroll to the right and under Data Exch. Def. Code select the Data Exchange Definition that we just created in our previous steps:
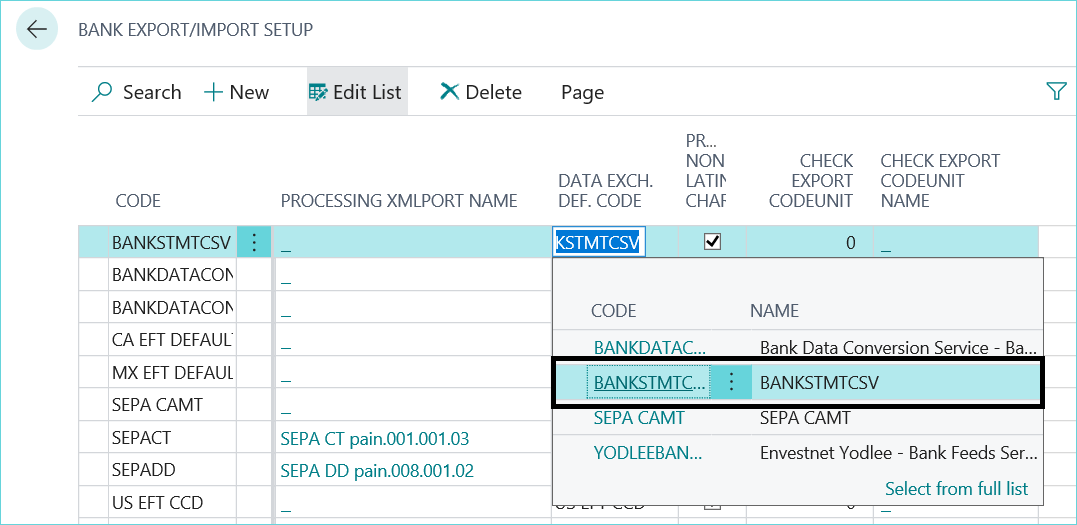
Now go and assign this new Bank Statement Import Format to our bank account!
Go to Cash Management-Bank Accounts and select the bank account.
Then, expand the Transfer tab and select the Bank statement Import format that we just created:
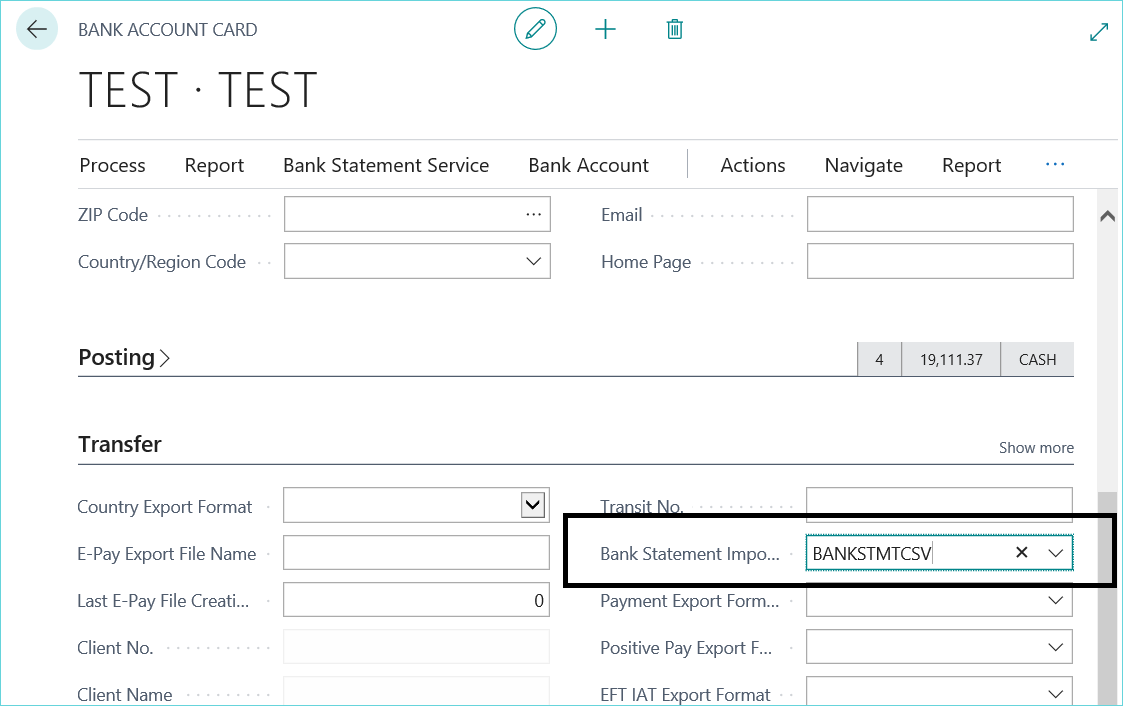
You can now import this file during your bank account statement reconciliation.
- Enter a global search for ‘bank account reconciliation’
- Click New and select the bank account to reconcile
- Enter the statement ending date and statement ending balance
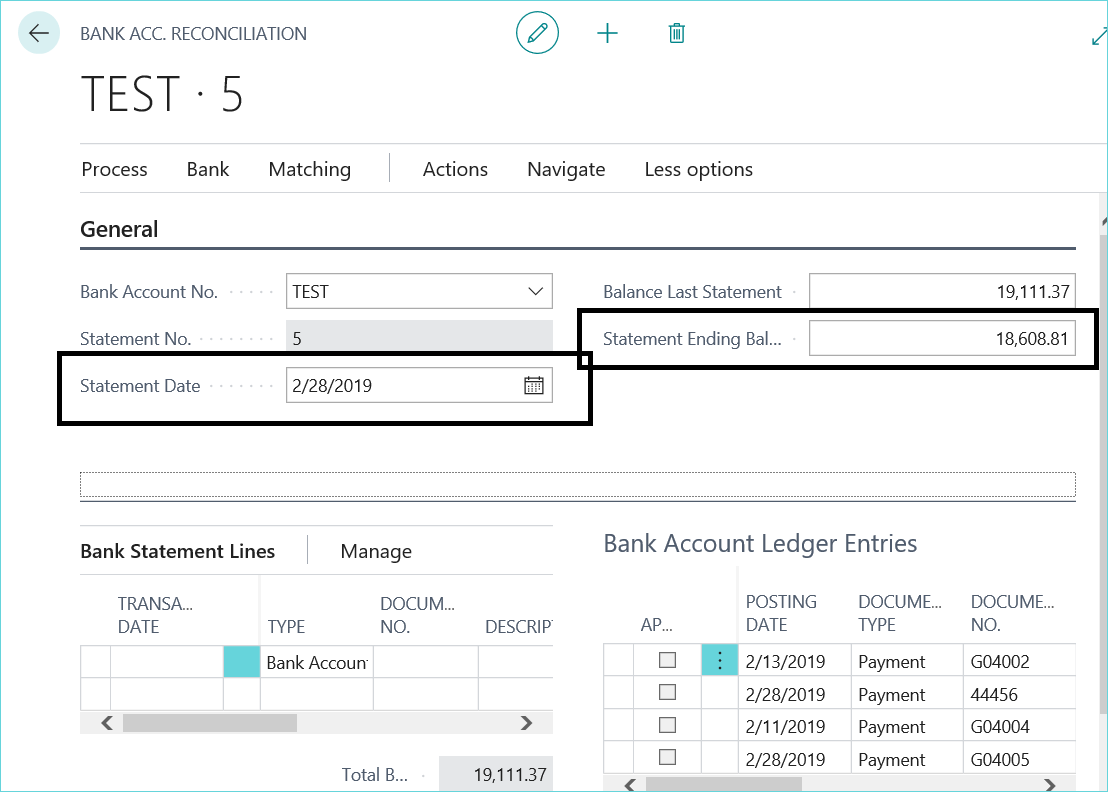
- Next we will import our bank statement file to populate the left hand side of the window (Bank Statement Lines).
Please note – if the file has headers, remove them first. D365 will attempt to import the first line of data in the file.
- Select Bank-Import Bank Statement and select the CSV file to import.
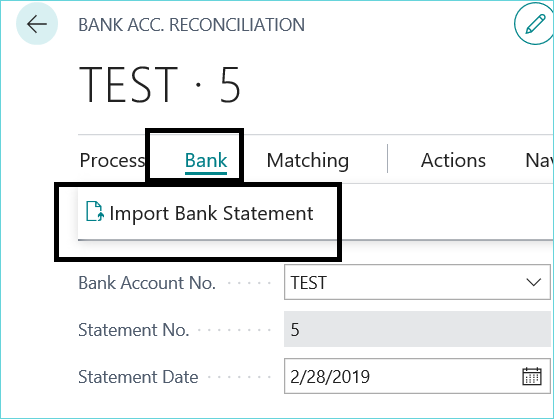
The transactions from our CSV file have now been imported and are visible on the Bank Statement Lines:
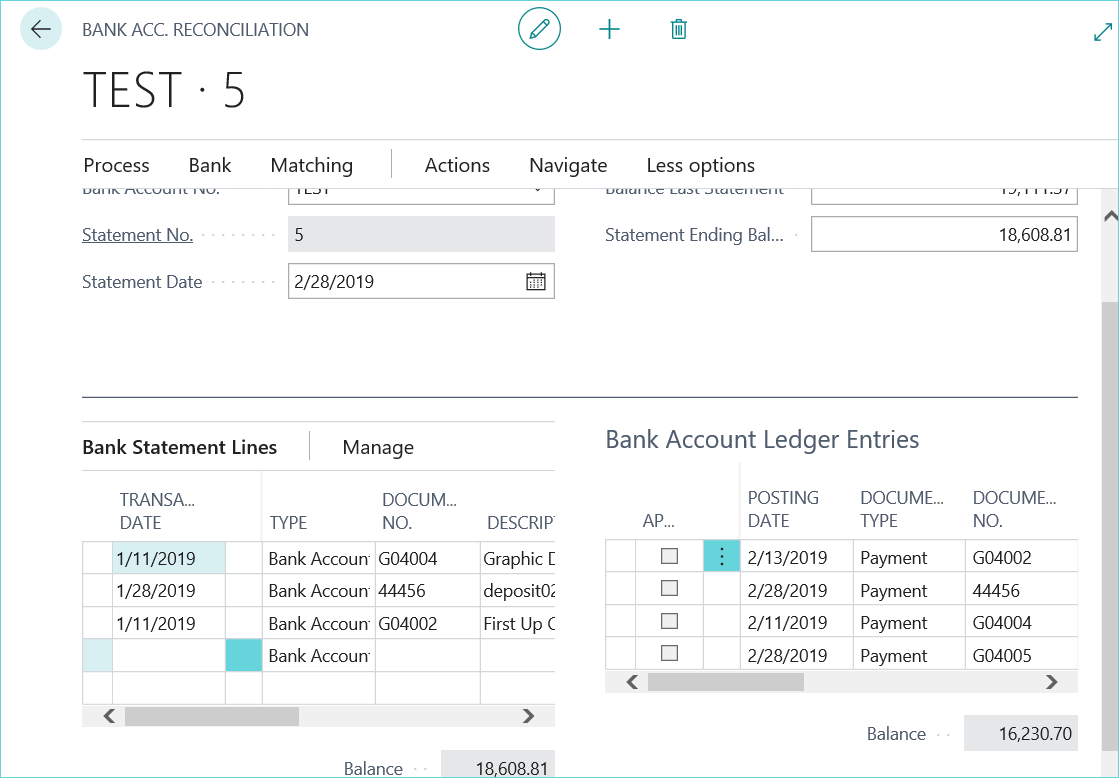
Matching Transactions
We can go to Matching/Match Automatically (leave transaction date tolerance blank).
Or we can select the line on the left and the line on the right and go to Matching/Match Manually if we wish to manually match
Dynamics 365 Business Central was able to automatically match the 3 imported transactions. The only transaction that is unmatched is Doc No G04005 (payment that was not in our CSV file).
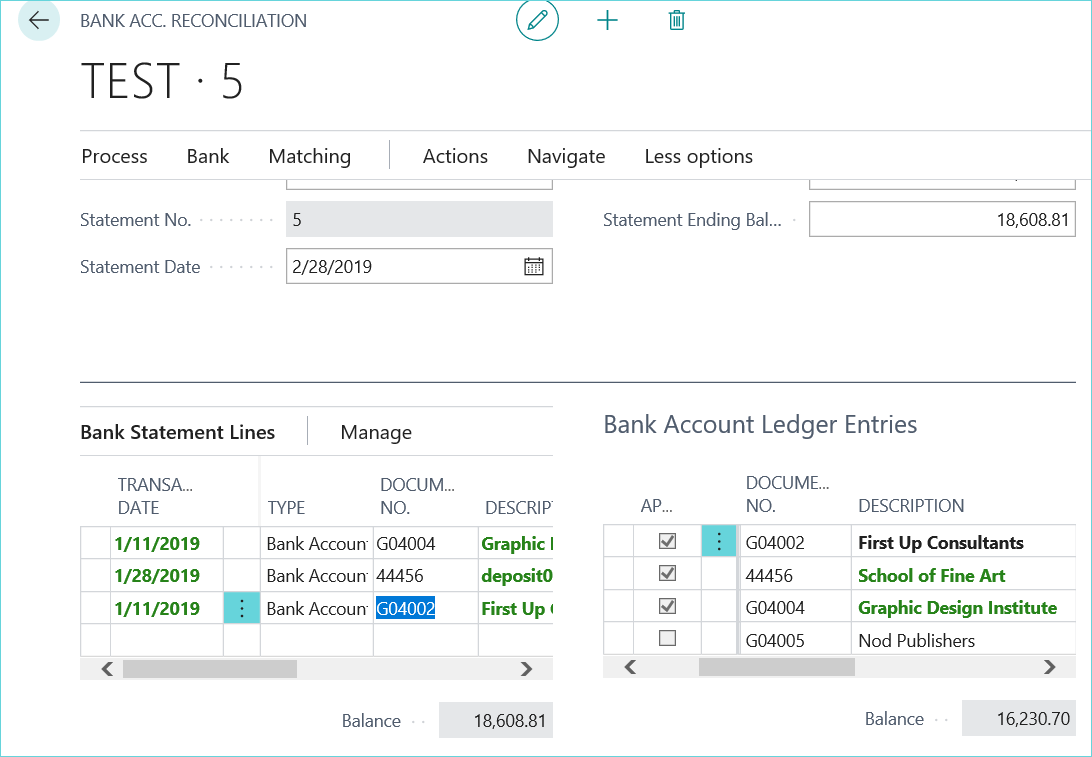
The Balance now matches the Bank statement ending balance that we provided (18608.81).
We can preview our reconciliation by going to Actions-Posting-Test Report.
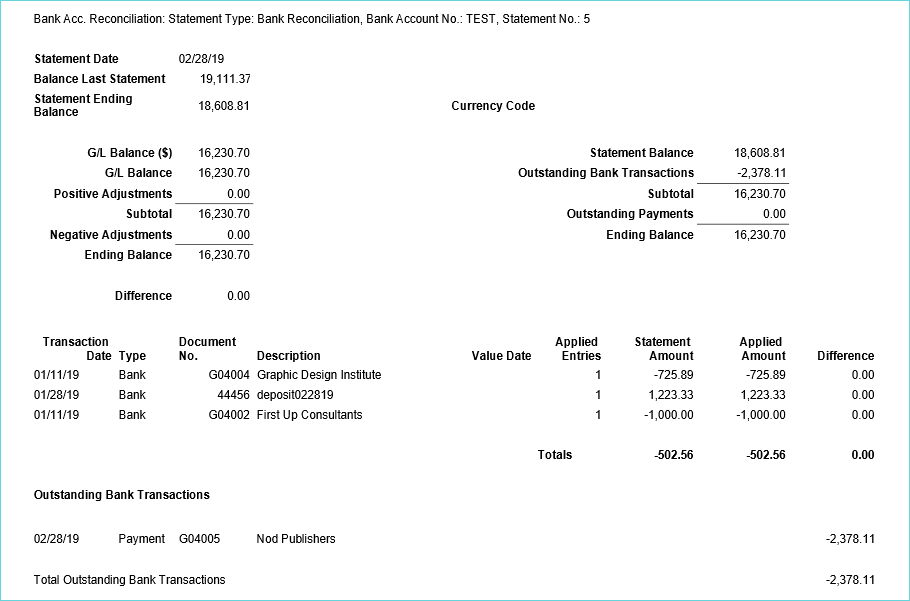
We are ready – now you can go to Process/Post and Print to post our bank account reconciliation
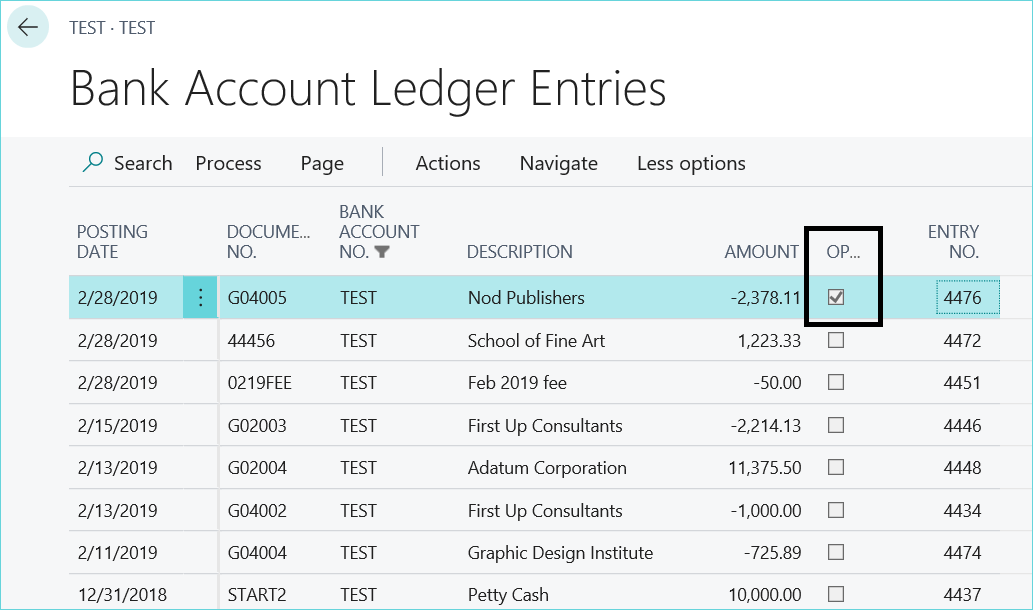
After posting, if we view our bank account it will show the Balance of $16,230.70. We can click that link and see the one outstanding check for Nod Publishers ($2378.11) is still marked as open.

If I scroll down to the Posting section, I will see my last bank account statement balance:

For more helpful tips & tricks for Microsoft Dynamics 365 Business Central, check out our blog posts or visit our YouTube channel.

