Microsoft Dynamics 365 Business Central offers automatic methods to reconcile your bank statement; such as importing a file with your bank statement information. However, I often find clients need to reconcile things manually in their system.
In this blog, I am going to review the manual method for bank account reconciliation. The Payment Reconciliation journal is used to apply payments recorded in the bank to their related unpaid invoices/credit memos.
First, I created a bank account called TEST and posted just a few simple entries.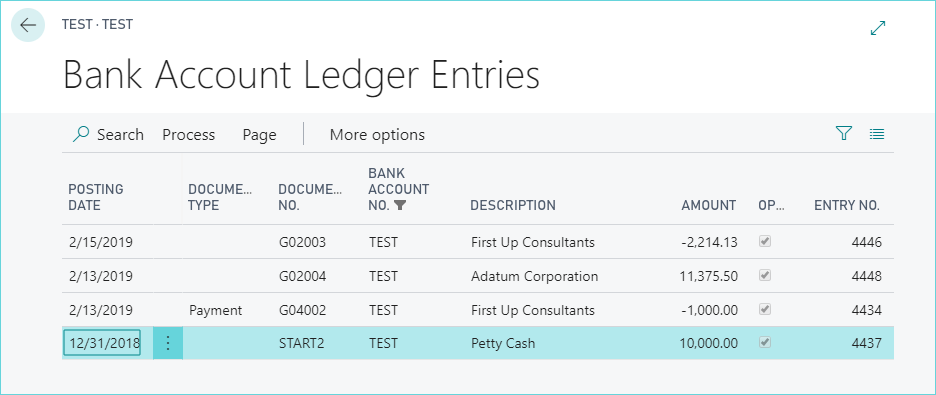
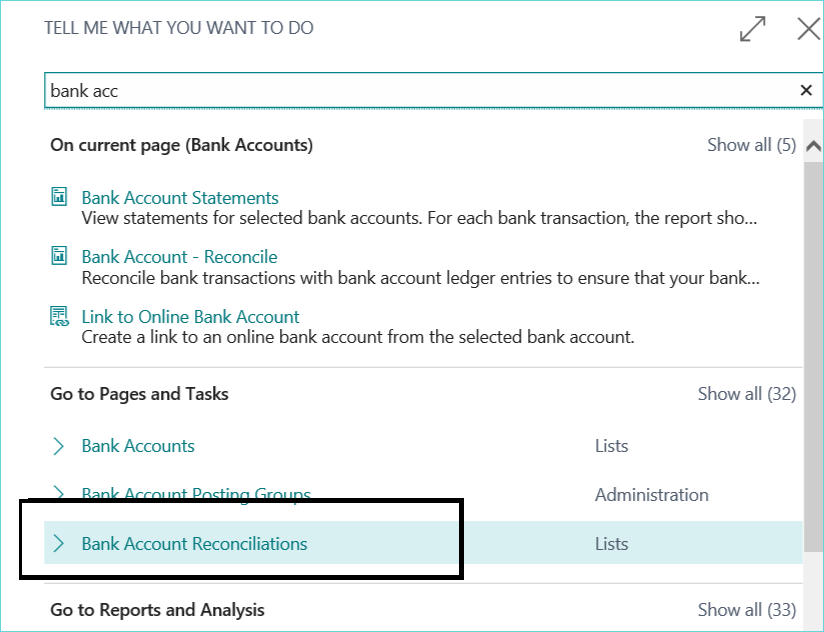
To reconcile bank accounts without simultaneously applying payments, use the global search for Bank Account Reconciliation.
Next, click New and select the bank account to reconcile. Now, enter the statement ending date and ending balance.
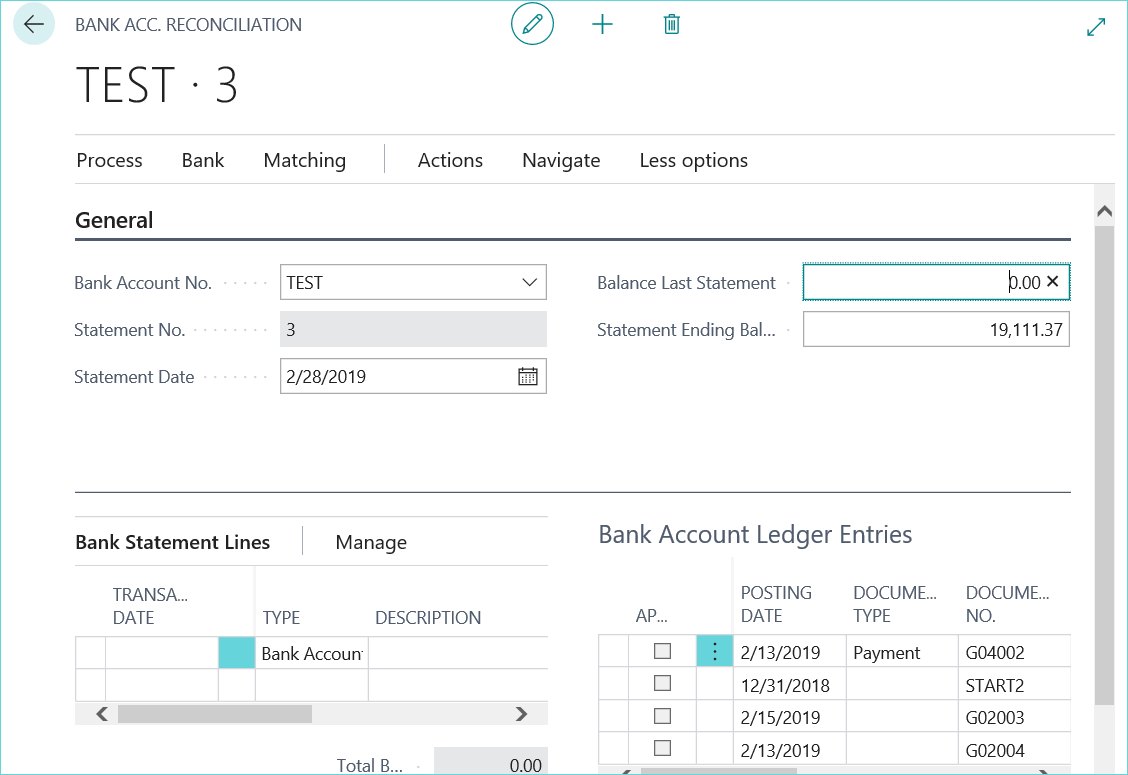
The left side, bank statement lines, will display the amounts from your bank statement.
The right side, bank account ledger entries, will display the amounts posted in Dynamics 365 Business Central.
To populate the bank statement lines, they can be imported by going to Bank-Import Bank Statement, but they can also be entered manually or automatically suggested.
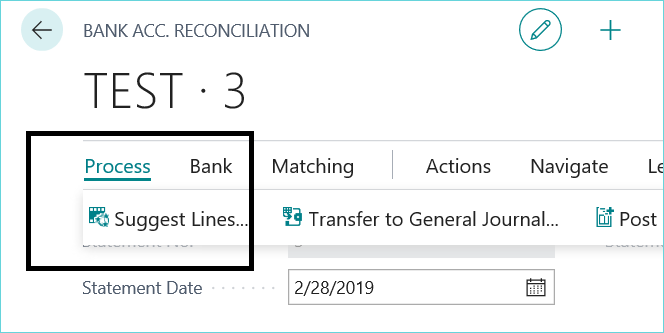
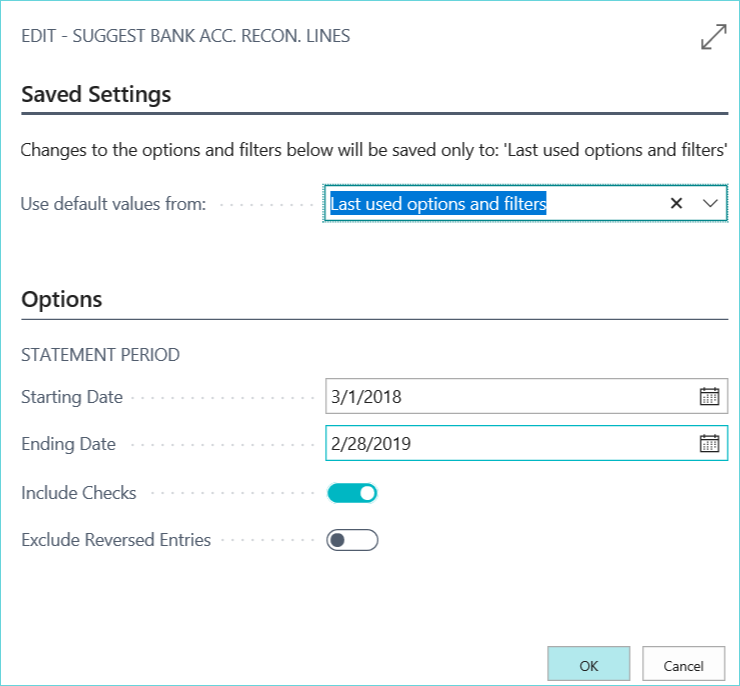
In this example, I will use the Suggest Lines feature by going to Process, then Suggest Lines.
Since this is our first reconciliation for this checkbook, I will leave the starting date as 3/1/2018 and ending date 2/28/19. I will mark to include checks.
The bank statement lines section has now been populated and an attempt to match them to the bank account ledger entries has been made. Notice the lines now appear in green. As I highlight the bank statement line, it will provide the balance at the bottom.
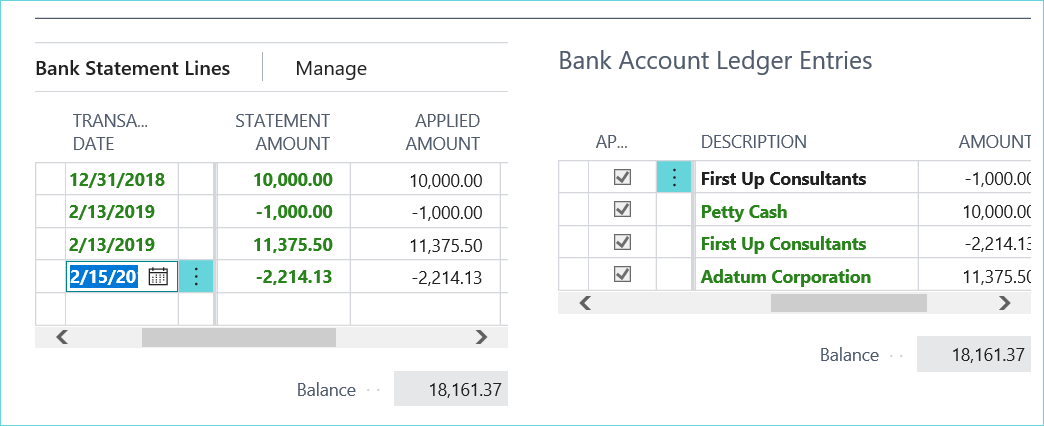
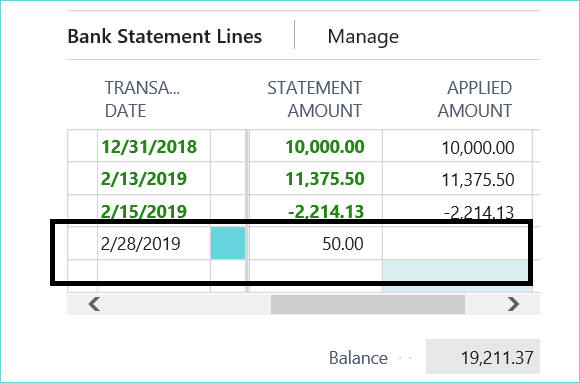
In my example, the check G04002 for $1000 has not cleared the bank account yet. There is also a $50 bank fee that is on the statement that I will need to add and enter a GL journal. I will make these two changes to bring the bank statement balance to $19,111.37.
Making Adjustments
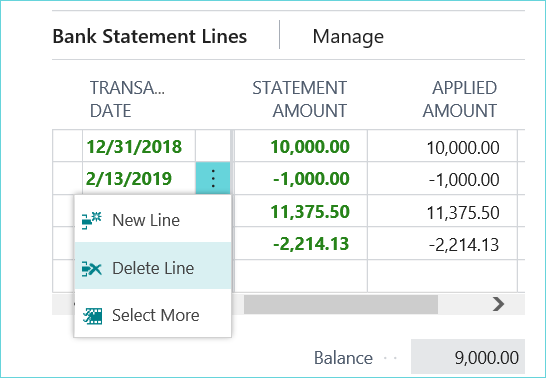
First, select the check and select delete line. This removes it from the bank statement lines section.
It also unchecks it on the Bank Account Ledger Entries side since it is no longer matched.
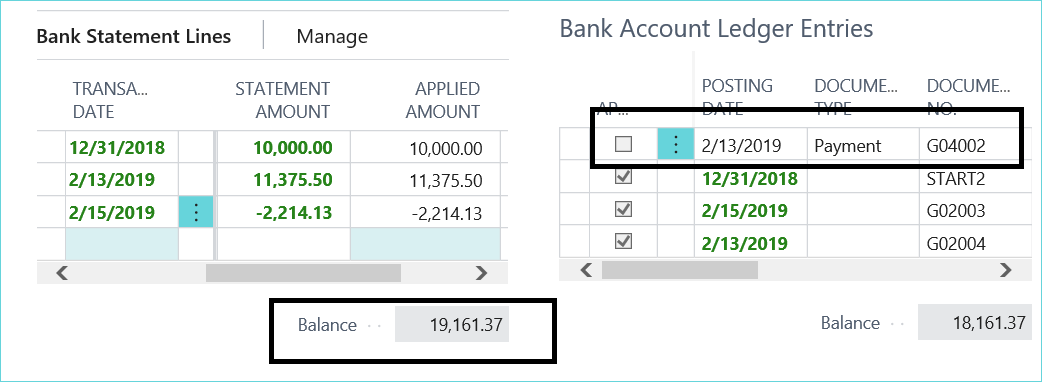
Next, I will enter a new line on the bank statement lines section for the $50 fee and then click Process, then Transfer to General Journal.
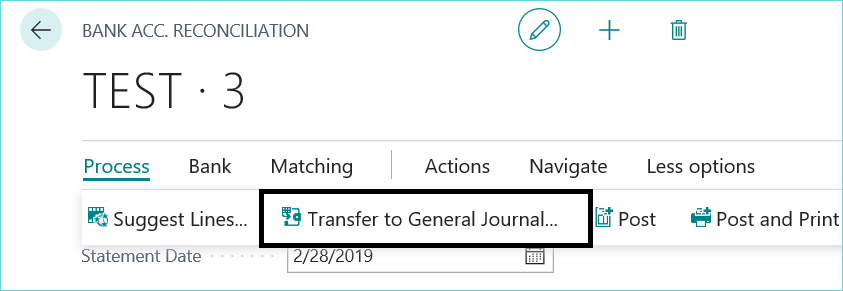
Select the general journal and batch to use and click ok. Next, select the GL account to post the fee to.
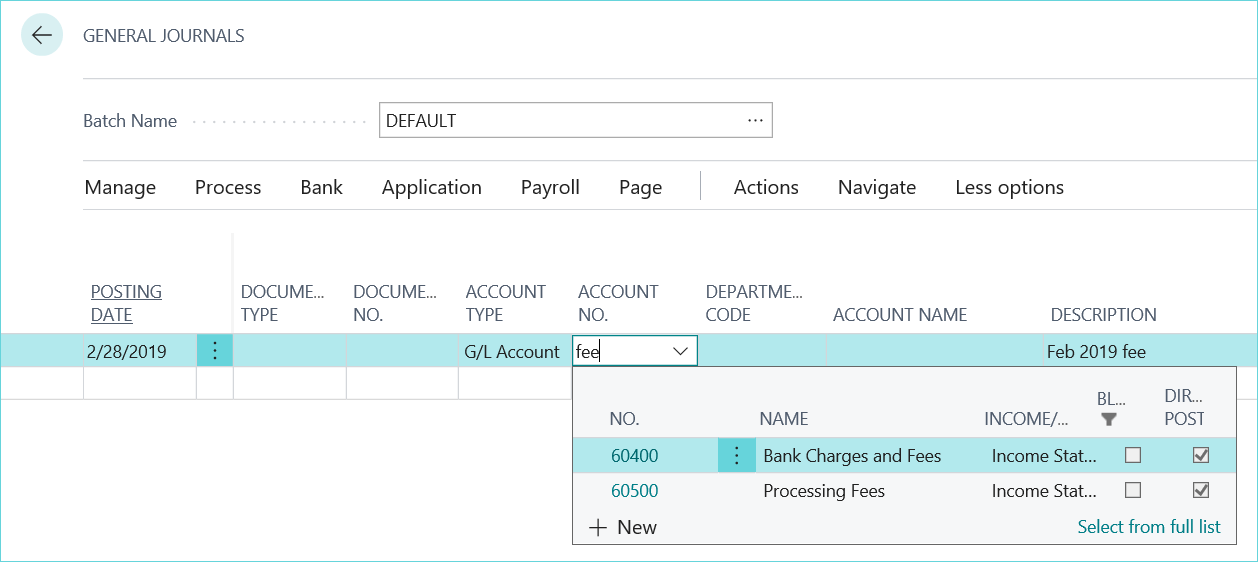
This is what the G/L register looks like after posting the fee.

I can return to my bank account reconciliation and choose Matching, Match Automatically (leave transaction date tolerance blank).
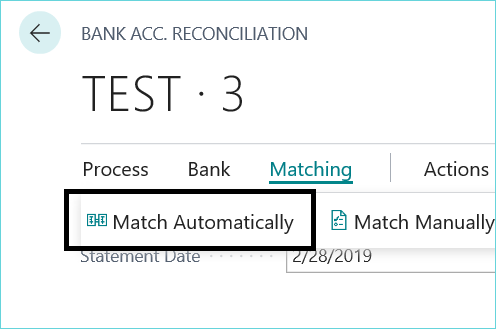
It now matched the bank fee that we just entered.
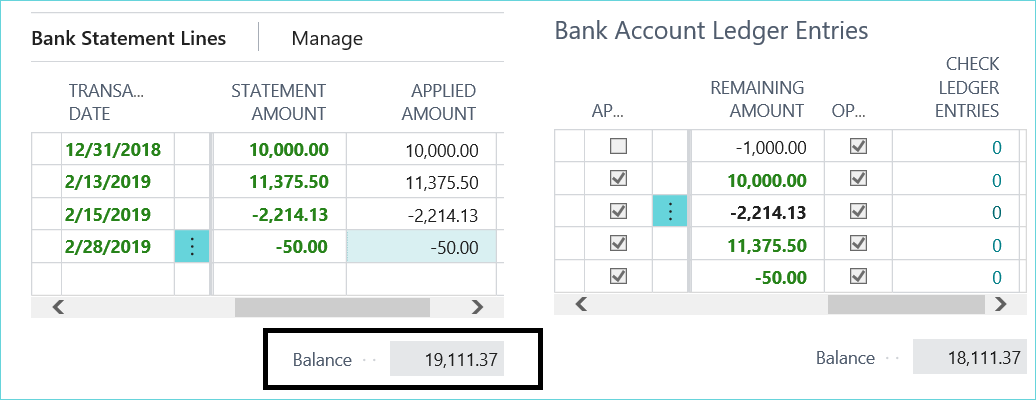
Next, I am going to run a test report to show my reconciliation prior to posting. I do this by going to Actions, Posting. Test Report. Be sure to mark it to include outstanding transactions.
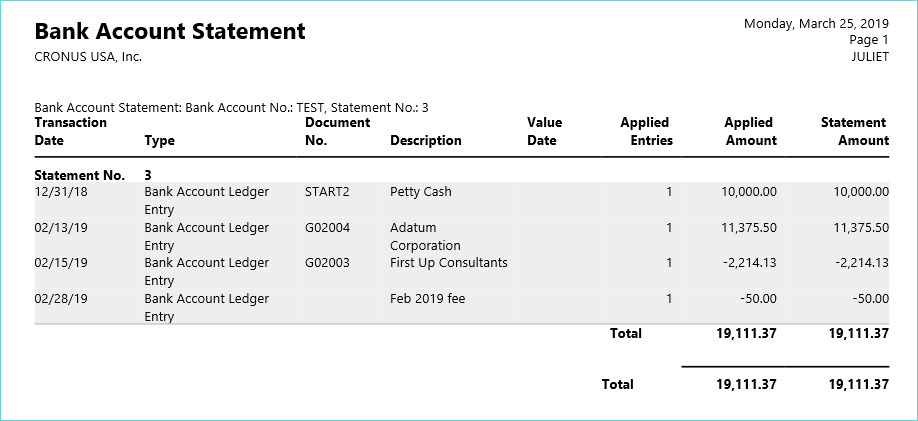
This report provides the correct statement ending balance, along with the transactions that have been reconciled and outstanding.
To print and complete this reconciliation, I go to Actions, Post and Print. Here is the bank account statement report Dynamics 365 Business Central will generate.
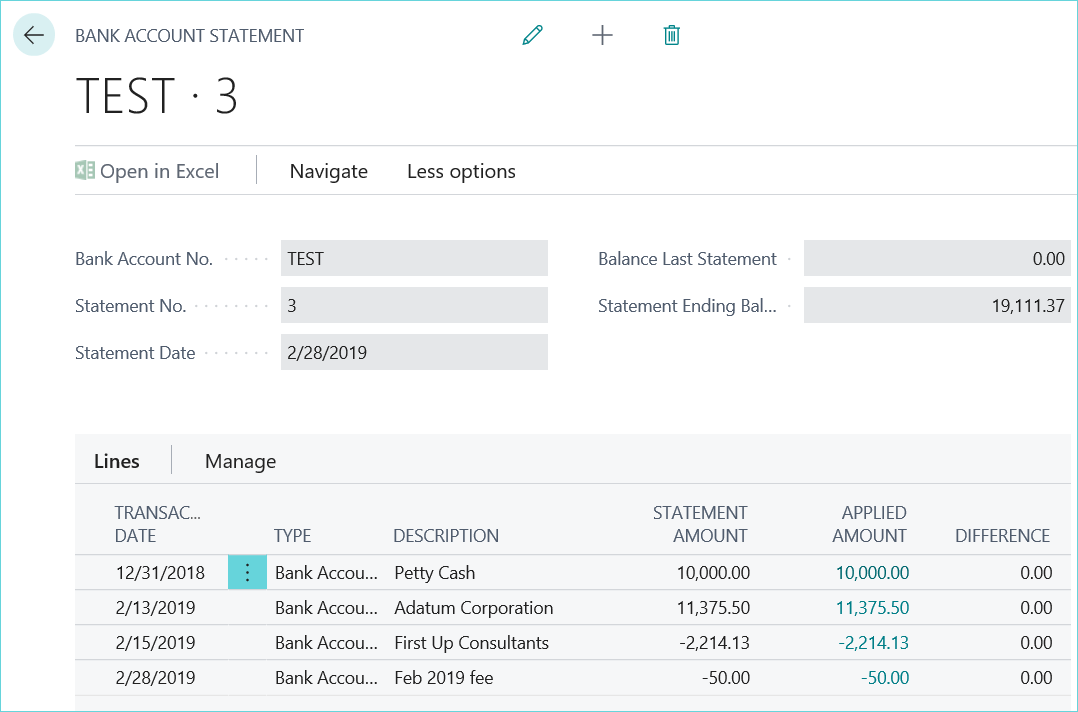
To review this statement in the future, I can go to Cash Management, Bank Account Statements.

Click the link to the Bank Account No. for that line and you can see all the details.
We have a team of Microsoft Dynamics 365 Business Central experts. Make sure to subscribe to our blog for up to date training and information. Sign up here.
