Here’s a quick and great way to speed up your reports – enable pre-filtering in Microsoft Dynamics 365. Pre-filtering is a feature that allows users to restrict the parameters of the data they are grabbing. It leverages the Microsoft Dynamics 365 Advanced Find filtering. For example, you may want to enable pre-filtering when running a custom report for one single record (versus all records that fit your parameters).
Here’s how:
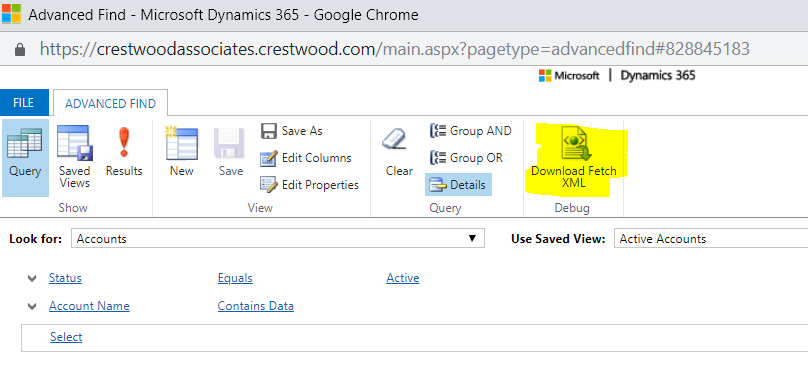
Start in Dynamics 365 by utilizing your Advanced Find to quickly build the logic around what you want to see in your report. Download the Fetch XML and throw that in your query designer. To get your XML, once you’re done setting up the details of your advanced find, click on the “Download Fetch XML” button on the toolbar. Save the XML download file.

It should look something like this:
<fetch version=”1.0″ output-format=”xml-platform” mapping=”logical” distinct=”false”>
<entity name=”account” >
<all-attributes/>
</filter>
</entity>
</fetch>
Within the <entity name> attribute, add in “enableprefiltering=1” as follows:
<entity name=”account” enableprefiltering=”1″/>
This will automatically add in a parameter to this dataset, it has a specific format so do not adjust.
CRM_ <entityname>
Note: For Dynamics 365 Version 9.0+ and VS 2015, I found that enable pre-filtering on the main reports did not work, my workaround was to create a new main report and sub-reports. I enabled pre-filtering on the main report and it worked like a charm.
In the coming months, we’ll be hosting a new SSRS Basics webinar! Subscribe to our blog for updates, and check out the webinar from last year in the meantime.
